This Dr. Diesel™ Tech Tip, outlines how to change Deutz 1011/2011 Timing belts in 13 easy steps.
The Deutz Model 1011 and 2011 series engines don’t rely upon cast iron timing gears like most industrial engines. Rather they use a timing belt. This belt should be changed every 800 to 1,000 hours Because the engine is an interference fit engine, if the belt fails the pistons will hit the head and cause expensive damage. This will result in much yelling and screaming. As a result, we encourage you to change this belt regularly. In our experience, when someone buys a Deutz-powered machine, especially one that has been in rental service, or on a stump grinder, he should assume that the belt has never been changed out and immediately change this belt to avoid headaches.
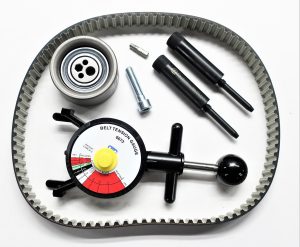 Foley 1011/2011 Timing Belt Kits
Our timing belt kits are very complete and include the Torx fastener to remove the front dust cover, two custom-made pins to lock the engine in place and not lose time, a belt tension gauge, the timing belt and tensioner pulley and a copy of these instructions.
How to install 1011 and 2011 timing pins
In order to not lose engine time, we supply a pair of custom-made pins with our 1011/2011 timing belt units. Once installed these pins lock the engine in place and it doesn’t have to be retimed as you install a new belt.
- Locate the camshaft timing pin-hole: Viewing the engine from the front, this threaded camshaft hole is located on the left rear side of the engine block. The camshaft has an offset hole so the pin can only go in one way. It is impossible to have the camshaft 180 degrees out-of-time.
- Locate the crankshaft timing pin-hole: Viewing the engine from the front, this threaded hole is located on the front right side of the engine block. Unlike the camshaft, the crankshaft can accidentally be pinned in place 180 degrees out of time.
- To time the crankshaft correctly, first, remove the fuel injector closest to the front of the engine. Now rotate the engine, by hand, until this front cylinder piston is at top dead center. Caution: be careful not to find TDC on the #1 cylinder. The #1 cylinder is located closest to the rear of the engine. You must find TDC on the front cylinder only (the cylinder closest to the front crankshaft pulley.)
- Once TDC is found, install the timing pin in the crankshaft timing hole.
- Next, rotate the crankshaft clockwise (as viewed from the front of the engine) until the crankshaft stops or hits the timing pin. Your crankshaft is now in time.
- The next step will be installing the belt and tensioner pulley. Please review our Tech Tip on the proper timing belt tensioning procedure.
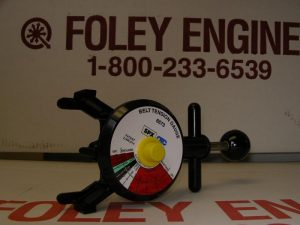
How to use our timing belt tension gauge
- Secure the new timing belt, pulleys and belt tensioner in place.
- Put a small amount of force on the belt tensioner and then secure it.
- This will give you a good starting point.
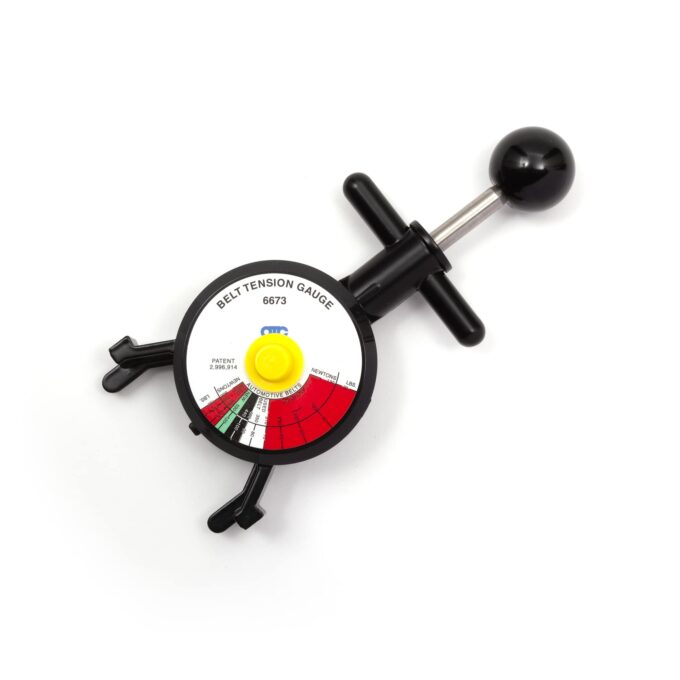
- Then place the timing belt gauge between the oil pump pulley and the camshaft pulley with the gauge facing the Deutz engine bellhousing. The correct setting will be right at the starting point in the green area of the gauge.
- Adjust the belt tension as necessary.
- Then with the timing pins and belt gauge removed, rotate the engine two full revolutions of 720 degrees. Check the belt tension again.
- If the tension is not correct, the engine must be re-timed and belt procedure stated in Step 1.


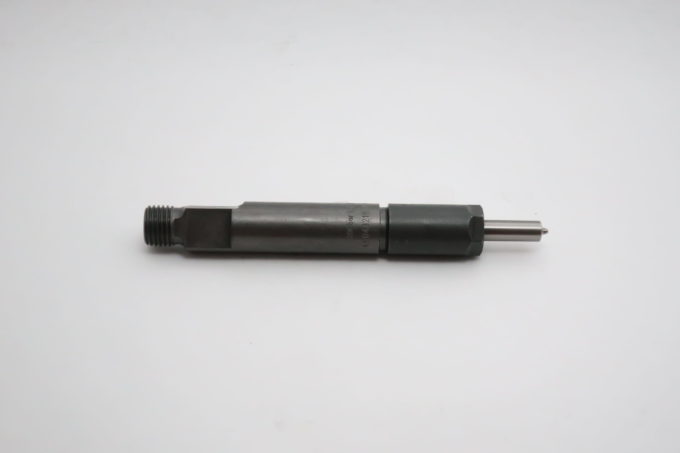
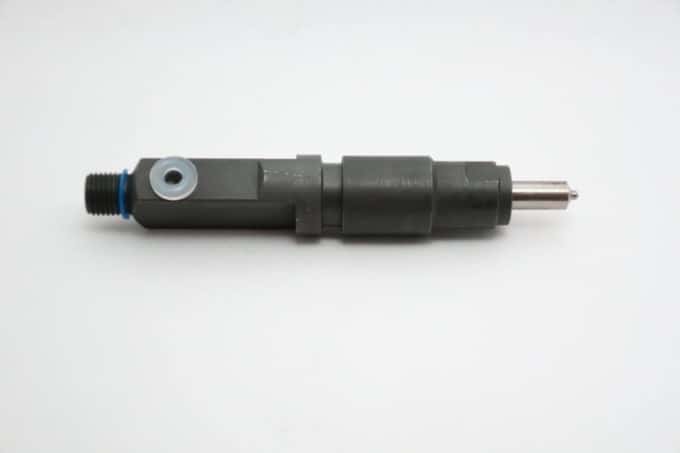


how i can Calculate thickness of the shim “Ss”.for injection pump to bf4m 2011 deutz engines pleas
Thanks. For this multi step procedure, we highly recommend purchasing one of our workshop manuals from our website. The process of collapsing tappets, measuring and calculating is to involved to try and illustrate without the manual. Foley Engines