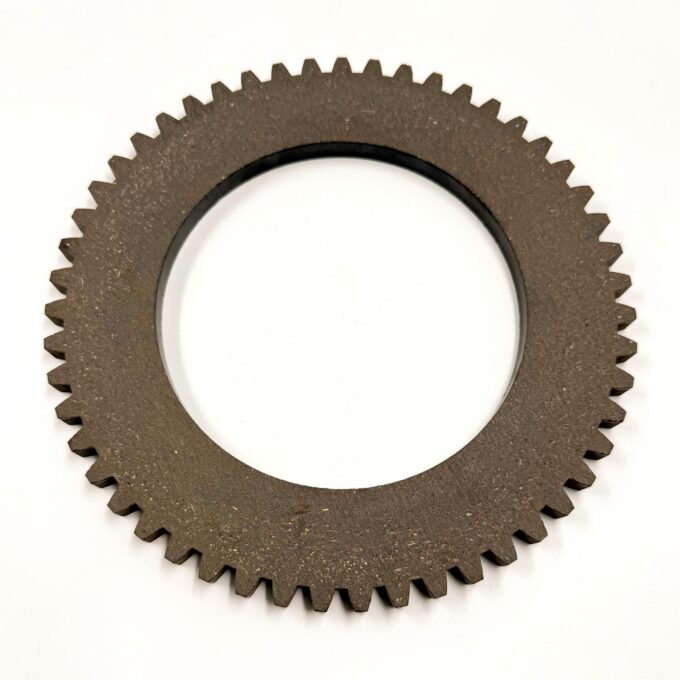
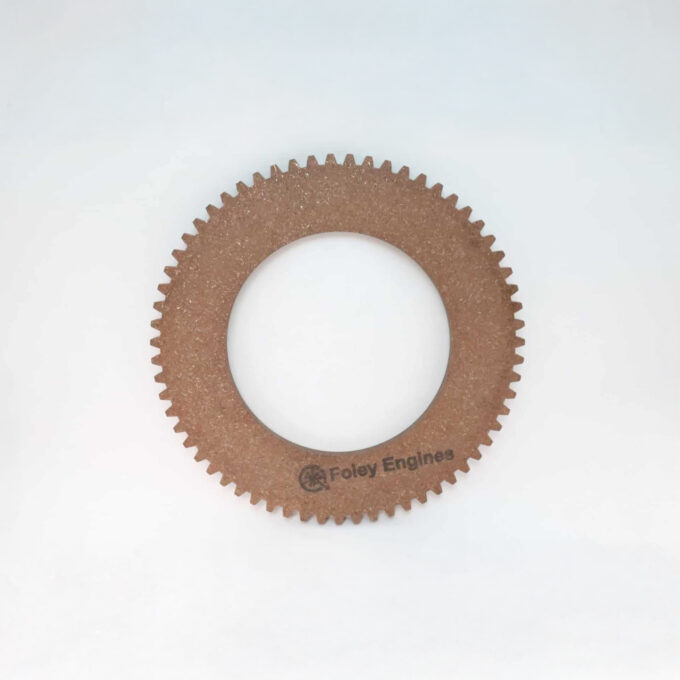
Tech Tip #234: How to Change the Front Cover on a Cummins B Series Engine

Dr. Diesel
Written by Dr. Diesel

Share

Foley offers both brand new as well as remanufactured Cummins B Series engines. These are base engines, complete with valve cover down through the oil pan plus a water pump and an oil cooler. The customer then re-installs their old accessories and goes back to work.

However, Cummins B Series engines are not all the same. Occasionally, it is necessary to change the front cover to accept a different style of injection pump. As the Cummins B series injection pumps vary, so do the front gear covers.

This Dr. Diesel™ Tech Tip, one of a series we publish for engine professionals, presents tips on how to change the front cover on a B Series engine.  Keep in mind that these are helpful hints only and the installing mechanic must use his/her own due diligence when making this change.

First Things First

You will need a copy of the Cummins Workshop Manual, a torque wrench, and a clean, dry location.  One of our Foley Hytork engine stands would come in handy also.

Below are tips on changing over the front gear housing on Cummins® B-Series engine. These are tips only, the installing mechanic/technician must take care when performing this procedure.

  • Remove rocker cover bolts, then remove rocker covers.
  • Number (by cylinder) and remove rocker arm assemblies.
  • Number (by cylinder) and remove pushrods.
  • Lay engine on its side.
  • Remove tin front cover.
  • Rotate engine by hand to align timing marks.
  • Remove idler gear.
  • Push all lifters/tappets towards the cylinder head.
  • Make sure camshaft spins freely. Remove camshaft bolts and then remove camshaft.
  • Remove front gear housing, making sure to removal all gasket material from block and housing. Be sure to keep any/all debris out of the engine and off surrounding areas.
  • Install new gasket and front gear housing.
  • Reinstall camshaft and idler gear.
  • Check timing marks. Have a second person verify timing mark alignment.
  • Torque to specs.
  • Set engine upright.
  • Reinstall pushrods (in numbered order). Be sure all pushrods line-up with their lifter sockets properly. Rotate pushrods to ensure proper fit.
  • Reinstall rocker arm assemblies (in numbered order), rotate pushrods to ensure proper fit, and torque to specs.
  • Rotate engine 360°, by hand, to ensure there is no binding or interference.
  • Set valve lash for B-Series intake at: 0.010” COLD and exhaust at: 0.025” COLD.

We hope that this tech tip has been helpful. We welcome your comments. You can email Dr. Diesel™ directly at DrDiesel@FoleyEngines.com.

Share

Dr. Diesel
Written by Dr. Diesel
Knowledge is power. Power to build ties to engine users. To build a relationship with our customers, we share with you our 105 years of knowledge in many ways. We have this special section called “Ask Dr. Diesel™” where you can pose questions about engines, transmissions, industrial hand clutches, exhaust scrubbers, etc.

Leave a Reply

×