(EITHER LEFT-HAND OR RIGHT-HAND MOUNTED FOLEY UNIVERSAIL GOVENOR INSTALLATION)
The Foley Universal Governor has been manufactured to exacting standards by the Hoof Governor Company. It is designed to be installed on industrial engines such as Continental, Hercules, Allis-Chalmers, Perkins, GM, Ford Industrial, and others. Foley universal governor installation is made easier with this helpful guide. As a belt drive governor, it will replace obsolete gear drive governors or install on an industrial engine where there isn’t a governor. This Pierce governor will accurately control the speeds of your engine to obtain the most satisfactory performance from your equipment. This governor is Hoof – style and is similar to those made by Hoof and Pierce. It is more adaptable, and less expensive, however. When installing the Hoof governor, carefully follow the instructions for Installation and Adjustment. To add further in checking your installation and servicing the Hoof governor after it has been used, check the following trouble-shooting hints.
This governor can be used in place of Cummins part number 3395960.
ENGINE SPEED FALLS OFF TOO GREATLY WHEN LOAD IS APPLIED:
- Governor improperly adjusted.
- Friction in throttle linkage.
- Load too great for engine at operating speed.
- Engine worn – compression low.
- Timing slow.
- Governor shaft speed too slow.
- Springs in Zenith carburetor or throttle mechanism opposing governor action
- Governor worn internally.
ENGINE OVER-RUNS TOO GREATLY WHEN LOAD IS REMOVED:
- Governor belt slipping.
- Governor shaft speed too slow.
- Friction in throttle linkage.
- Friction in Zenith carburetor (or valve body).
- Governor improperly adjusted.
- Springs in Zenith carburetor or throttle mechanism opposing governor action.
- Governor worn internally.
GOVERNOR SURGES UNDER LOAD:
- Governor improperly adjusted.
- Friction in throttle linkage.
- Governor belt slipping.
- Carburetor mixture too lean or too rich.
- Timing set too fast.
- Faulty ignition.
- Governor running too fast.
- Governor worn internally.
GOVERNOR SURGES AT NO-LOAD:
- Governor improperly adjusted.
- Friction in throttle linkage.
- Governor belt slipping.
- Carburetor mixture too lean or too rich.
- Timing set too fast.
- Faulty ignition.
- Pierce Governor worn internally.
This Hoof governor is calibrated to operate at speeds of 1600 to 2800 RPM. Operating at lower governor shaft speeds might result in sluggish governor action. Operating at a higher governor shaft speed might damage the governor internally and will VOID THE WARRANTY. Maintain oil level in the governor as specified in the installation and adjustment instructions. DO NOT OVER-FILL.
PIERCE GOVERNOR PULLEY: This Pierce governor is designed to give best performance at GOVERNOR SHAFT speeds from 1600 to 2800 RPM, when the ENGINE is running at desired speeds. To determine proper pulley size for the Hoof governor, use the following formula:
![]()
If the Hoof Governor is driven from an auxiliary pulley other than the crankshaft pulley, determine the speed of the auxiliary pulley by this formula:
![]()
With the Auxiliary pulley speed established, determine the proper Hoof governor pulley size with the first formula, substituting the auxiliary pulley speed for the engine speed. Mount correct pulley on the Hoof governor before installing governor on engine. Be certain that both pulleys are for the same size belt.
Shortcut: When mounting on a gen set, the better regulation is achieved at a high gov speed:
- ~For 1800 RPM ENGINE speed: Dia of Eng Pulley x 0.70 = Dia of Gov Pulley
- ~For 3600 RPM ENGINE speed: Dia of Eng Pulley x 1.45 = Dia of Gov Pulley
FOLEY HOOF PIERCE GOVERNOR – INSTALLATION AND ADJUSTMENT INSTRUCTIONS
 MOUNTING: Determine the best point on the Zenith carburetor side of the engine to permit driving the Hoof governor from the fan belt or an auxiliary belt.
MOUNTING BRACKET: Devise a mounting bracket which will hold the Hoof governor rigidly in line with the driving pulley. A piece of heavy angle iron will usually be adequate. Drill holes to meet governor- mounting slots.
 MOUNTING FLANGE: (Fig 1) Locate flange in most desirable position, being certain that the oil cup is always upward. (OR see LUBE OPTION on page 3.) Relocation of flange is accomplished by removing body screws and turning flange on shaft per Fig. 1 & 2.
 SPRING AND LEVER ASSEMBLY: It is usually desirable to have the spring and lever assembly located on the side of the governor farthest from the engine block for ease of adjustment. If it is necessary to relocate the lever assembly, proceed as follows, referring to Fig. 3,4,5&6.
- Release Spring Tension.
- Loosen set screw A so that spring lever M may be removed.
- Remove shoulder screw B and remove complete assembly.
- Reposition stop screws C and D as shown in Fig. 4.
- Remove throttle lever H and install on opposite side of governor.
- Remove plug screw from speed change lever pad on opposite side of governor and install in tapped hole from which shoulder stud B was removed.
- Install speed change lever and spring lever assembly on opposite side of governor, securing with set screw A and shoulder stud B. NOTE: Be certain that stop bracket N is properly located between speed change lever E and governor body.
- It is possible to locate the throttle lever H on either side of the governor body, regardless of the position of the spring lever assembly. However, if it is to be used on the same side as the speed change lever assembly, it must be located between the spring lever M and the governor body.
 MOUNTING HOOF GOVERNOR TO ENGINE: Mount the Pierce governor on bracket using 3/8-inch machine bolts, with lock washer under nut. Do not tighten nuts tightly. Draw tension on belt by moving governor on bracket until belt can be depressed approximately ½ inch when pressing between pulleys. Now tighten mounting bolts to secure governor in this position.
NOTE: The length of the Zenith carburetor lever (from center of shaft to center of hole) must be no more than 7/8-inch. If the carburetor lever is longer, it will be necessary to drill an additional hole in the Zenith carburetor lever the center of which falls ¾-inch from the center of the Zenith carburetor shaft.
 LINKING PIERCE GOVERNOR TO ZENITH CARBURETOR: Loosen lock screw in governor throttle lever H. Position throttle lever H so that a rod connecting the throttle lever with the Zenith carburetor lever will meet the throttle lever at a 90° angle. Tighten lock screw on governor lever. Place some tension on governor spring. The governor throttle lever H is now in wide-open throttle position. The throttle lever H can now be moved only in one direction – toward closed throttle. Check direction of rotation on the Zenith carburetor lever to see that its travel is in the same direction. If this is not the case, it is necessary to reverse the direction of travel of the carburetor lever OR of the governor lever (by rotating the governor lever 180° around the rocker shaft).
THE LINKAGE ROD AND BALL JOINT ASSEMBLY should be of such length that the ball joint connecting screws will match the holes in the governor throttle lever and the carburetor lever when both are in the wide-open position. Note: for best performance, the throttle rod should be at right angles to both levers at mid-travel. Cut a piece of 1/4-inch rod 1 5/8 inch shorter than the distance between the holes in the governor lever and the Zenith carburetor lever. Thread the rod with ¼-28 thread 1 inch back from each end. Then when assembled with ball joints and ¼-28 locking nuts, you should be able to adjust length as noted on page 4.
 LUBRICATION: Ref. Fig. 8. This Hoof governor is manually lubricated. Before starting engine, remove pipe plug K. Pour oil into oil cup L until it runs out of housing. Use same grade motor oil as used in the engine crankcase. Replace pipe plug K and secure snugly. Check oil weekly.
LUBE OPTION: if it is necessary to rotate the body for lever access, you can remove the oil cup, insert 3.25 oz (100 cc) oil [NO MORE], and replace the oil cup with a 1/8-inch pipe plug, thus sealing the Pierce governor.
ADJUSTING GOVERNOR
TYPICAL INSTALLATION: Note: Before adjustment, step 1, remove bumper screw F, re-insert 3 or 4 turns into the governor body, & secure with locknut.
ALTERNATE THROTTLE LEVER (G), for return-to-idle override contact Foley Engines.
- Place tension on governor spring with screw E or with manual control attached to speed change lever B. (This forces the governor into its wide-open-throttle position.) Install linkage A from governor throttle lever to the carburetor lever, adjusting the length of the linkage to hold the Zenith carburetor just slightly off the wide-open stop (up to 1/16”).
- Release all spring tension, and operate the throttle lever manually to check for binding or lost motion in the linkage. Make corrections as needed to assure smooth, friction-free operation of this linkage.
- Start engine and allow to warm up to normal operating temperature.
- Tighten spring with screw E or with manual control attached to speed change lever B to desired no-load speed.
- Check the speed “droop” by loading and unloading the engine.
- If the drop in engine speed (“droop”) between no-load and full-load is too much, lower speed 100 RPM or so with speed change lever B, then raise speed back up to the desired no-load RPM with the regulation eye-screw C.
- If governor tends to surge under load, lower the speed 100 RPM or so with regulation eye-screw C, then raise speed back up to the desired no-load RPM with speed change lever B.
- Repeat either of these adjustments as necessary to achieve the desired performance
BUMPER SCREW: The bumper screw F is ONLY used to remove a no-load surge.
- FOR CONSTANT SPEED OPERATION, If a no load surge is encountered, turn bumper screw F in slowly until surge is removed.
- FOR VARIABLE SPEED OPERATION, the bumper screw may be used to remove a no-load surge at the low speed ONLY.
- NEVER turn bumper screw in far enough to increase no-load speed.
WARNING: Operating this Pierce governor at a GOVERNOR shaft speed over 2800 RPM voids warranty.
HOOF PIERCE GOVERNORS
HOW TO FIND THE GOVERNOR PULLEY DIAMETER
PRODUCT BULLETIN – HOOF PIERCE MECHANICAL GOVERNORS
Unnecessary product returns are costly to your company as well as to Foley Engines. Many of these returns indicate possible assembly and adjustment errors by customer personnel.
When installing and adjusting a Hoof governor, two points of instruction are much more essential than them seem on the outset:
- 1. The length of the linkage that connects the governor output lever to the carburetor lever can ONLY be determined AFTER the governor is COMPLETELY installed in place on the engine. Here are some linkage- setting instructions common to most mechanical governor installations:
- Without the engine running, adjust the governor to apply some tension on the governor spring. This forces the governor output lever to the “wide open throttle” position. That’s the only position notable on the governor; closed-throttle position is not discernable on the governor. That’s why it is necessary to set rod length – in the next two steps – at wide-open throttle.
- Attach the throttle linkage to either the governor or the carburetor lever first.
- THEN, adjust the length of the linkage so that, when it is attached at the other end, the carburetor lever is also held at the “wide open throttle” position; just slightly off the carburetor’s wide open stop (up to 1/16-inch) is preferable.
- Attach the linkage securely, remove the governor spring tension, move the linkage by hand, and be sure it moves freely through the full travel of the carburetor lever WITHOUT RESISTANCE. No other engine components can touch this connecting linkage – wiring, hoses, etc.
- Just “short-cutting” this one critical adjustment – with “preset” throttle linkages or careless adjustments or lack of observation – have generated warranty claim comments such as:
- “Governor will not pick up load”
- “Governor over-speeds”
- “Cannot set governor speed”
- “Won’t rev up”
- “Would not respond”
- “Not controlling speed”
- Just “short-cutting” this one critical adjustment – with “preset” throttle linkages or careless adjustments or lack of observation – have generated warranty claim comments such as:
- The “bumper screw” is used ONLY to eliminate a surge or “hunting” at maximum no-load speed. Before starting the engine, make sure the bumper screw thread is engaged only 3 or 4 turns (approx 1/8 inch) into the governor housing.
IF, after your normal startup and speed adjustment, you encounter a no-load surge, THEN the bumper screw can be turned slowly – while the engine is running – in a clockwise direction, until the surge JUST stops. The bumper screw MUST NOT be turned in far enough to RAISE the no-load speed.- An incorrect adjustment here can generate warranty claim comments like:
- ”Engine surges when load is removed”
- ”Engine runs away or over-speeds when load is removed”
- An incorrect adjustment here can generate warranty claim comments like:
Something else to watch for: This Hoof governor has limited travel to move the throttle rod and carburetor lever. In operation, the governor output (rocker) shaft has 15° of movement. That means the linear travel available to move the throttle rod is only ¼ inch per inch of lever length, at best. (I.e., a 4-inch long lever will move the rod one inch). The movement required to move the Zenith carburetor from fully open throttle to closed throttle MUST NOT EXCEED the available governor lever movement. It’s best to plan on using no more than 7/8 of the calculated useable governor lever travel.
AUXILIARY LEVER
FOR USE WITH
HOOF PIERCE GOVERNOR
HOOF AUXILIARY LEVER ASSEMBLY
IN SOME CONSTANT-SPEED APPLICATIONS, SUCH AS A CONTINENTAL ENGINE IN A WELDER, IT IS DESIRABLE TO BE ABLE TO OVERRIDE THE PIERCE GOVERNOR AND “BREAK” THE LINKAGE BACK TOWARD IDLE, KEEPING THE ENGINE RUNNING AT A REDUCED IDLE SPEED AND READY FOR IMMEDIATE USAGE. (THIS IS COMMON IN WELDER AND COMPRESSOR APPLICATIONS.)
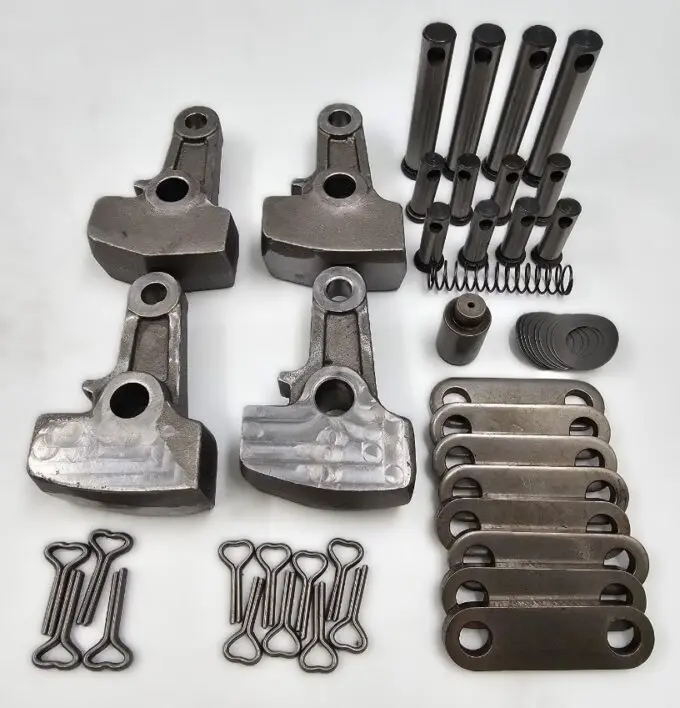
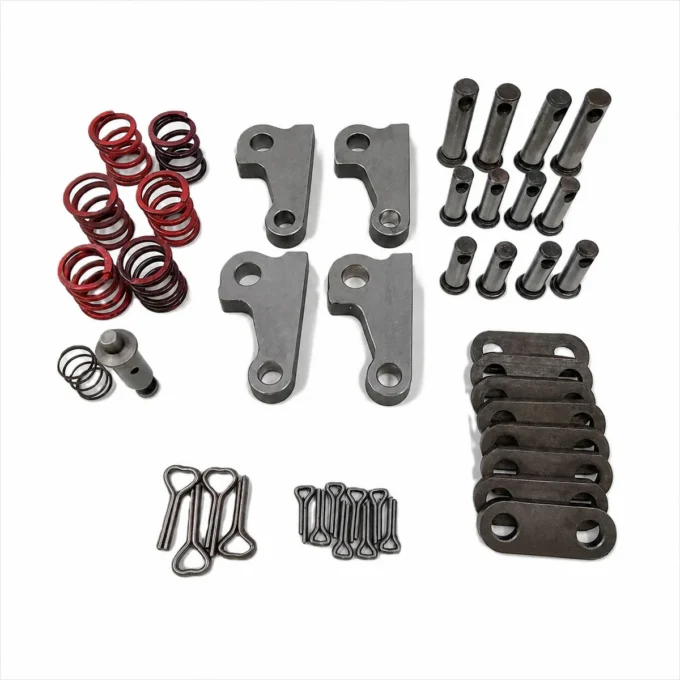
WHEN THIS FEATURE IS NEEDED, THE AUXILIARY LEVER ASSEMBLY (PICTURED) IS DESIGNED TO REPLACE THE THROTTLE LEVER THAT COMES WITH THE HOOF GOVERNOR.
POSITION THE AUXILIARY LEVER SO THAT IT “BREAKS” TOWARD CLOSED THROTTLE. YOU CAN THEN ATTACH YOUR OVERRIDE MECHANISM LINKAGE TO THE UNUSED HOLE ON THE AUXILIARY LEVER.
WARNING: IN NORMAL HOOF GOVERNOR OPERATING MODE, THE OVERRIDE LINKAGE MUST NOT IMPEDE MOVEMENT OF THE GOVERNOR-TO-THROTTLE LINKAGE IN ANY WAY, OR GOVERNOR OPERATION WILL BE ERRATIC AND UNACCEPTABLE.
SEE TECH TIP #80, Governors on Industrial Engines: A Brief Overview at www.foleyengines.com for more info.
TECHNICAL ASSISTANCE IS AVAILABLE AT FOLEY ENGINES WEEKDAYS FROM 9:00 AM UNTIL 4:30 PM, EASTERN TIME. CALL 1-800-233-6539. You can also email Foley Engines directly at DrDiesel@foleyengines.com with your questions.
![]()
![]()